

DIY Split Keyboard

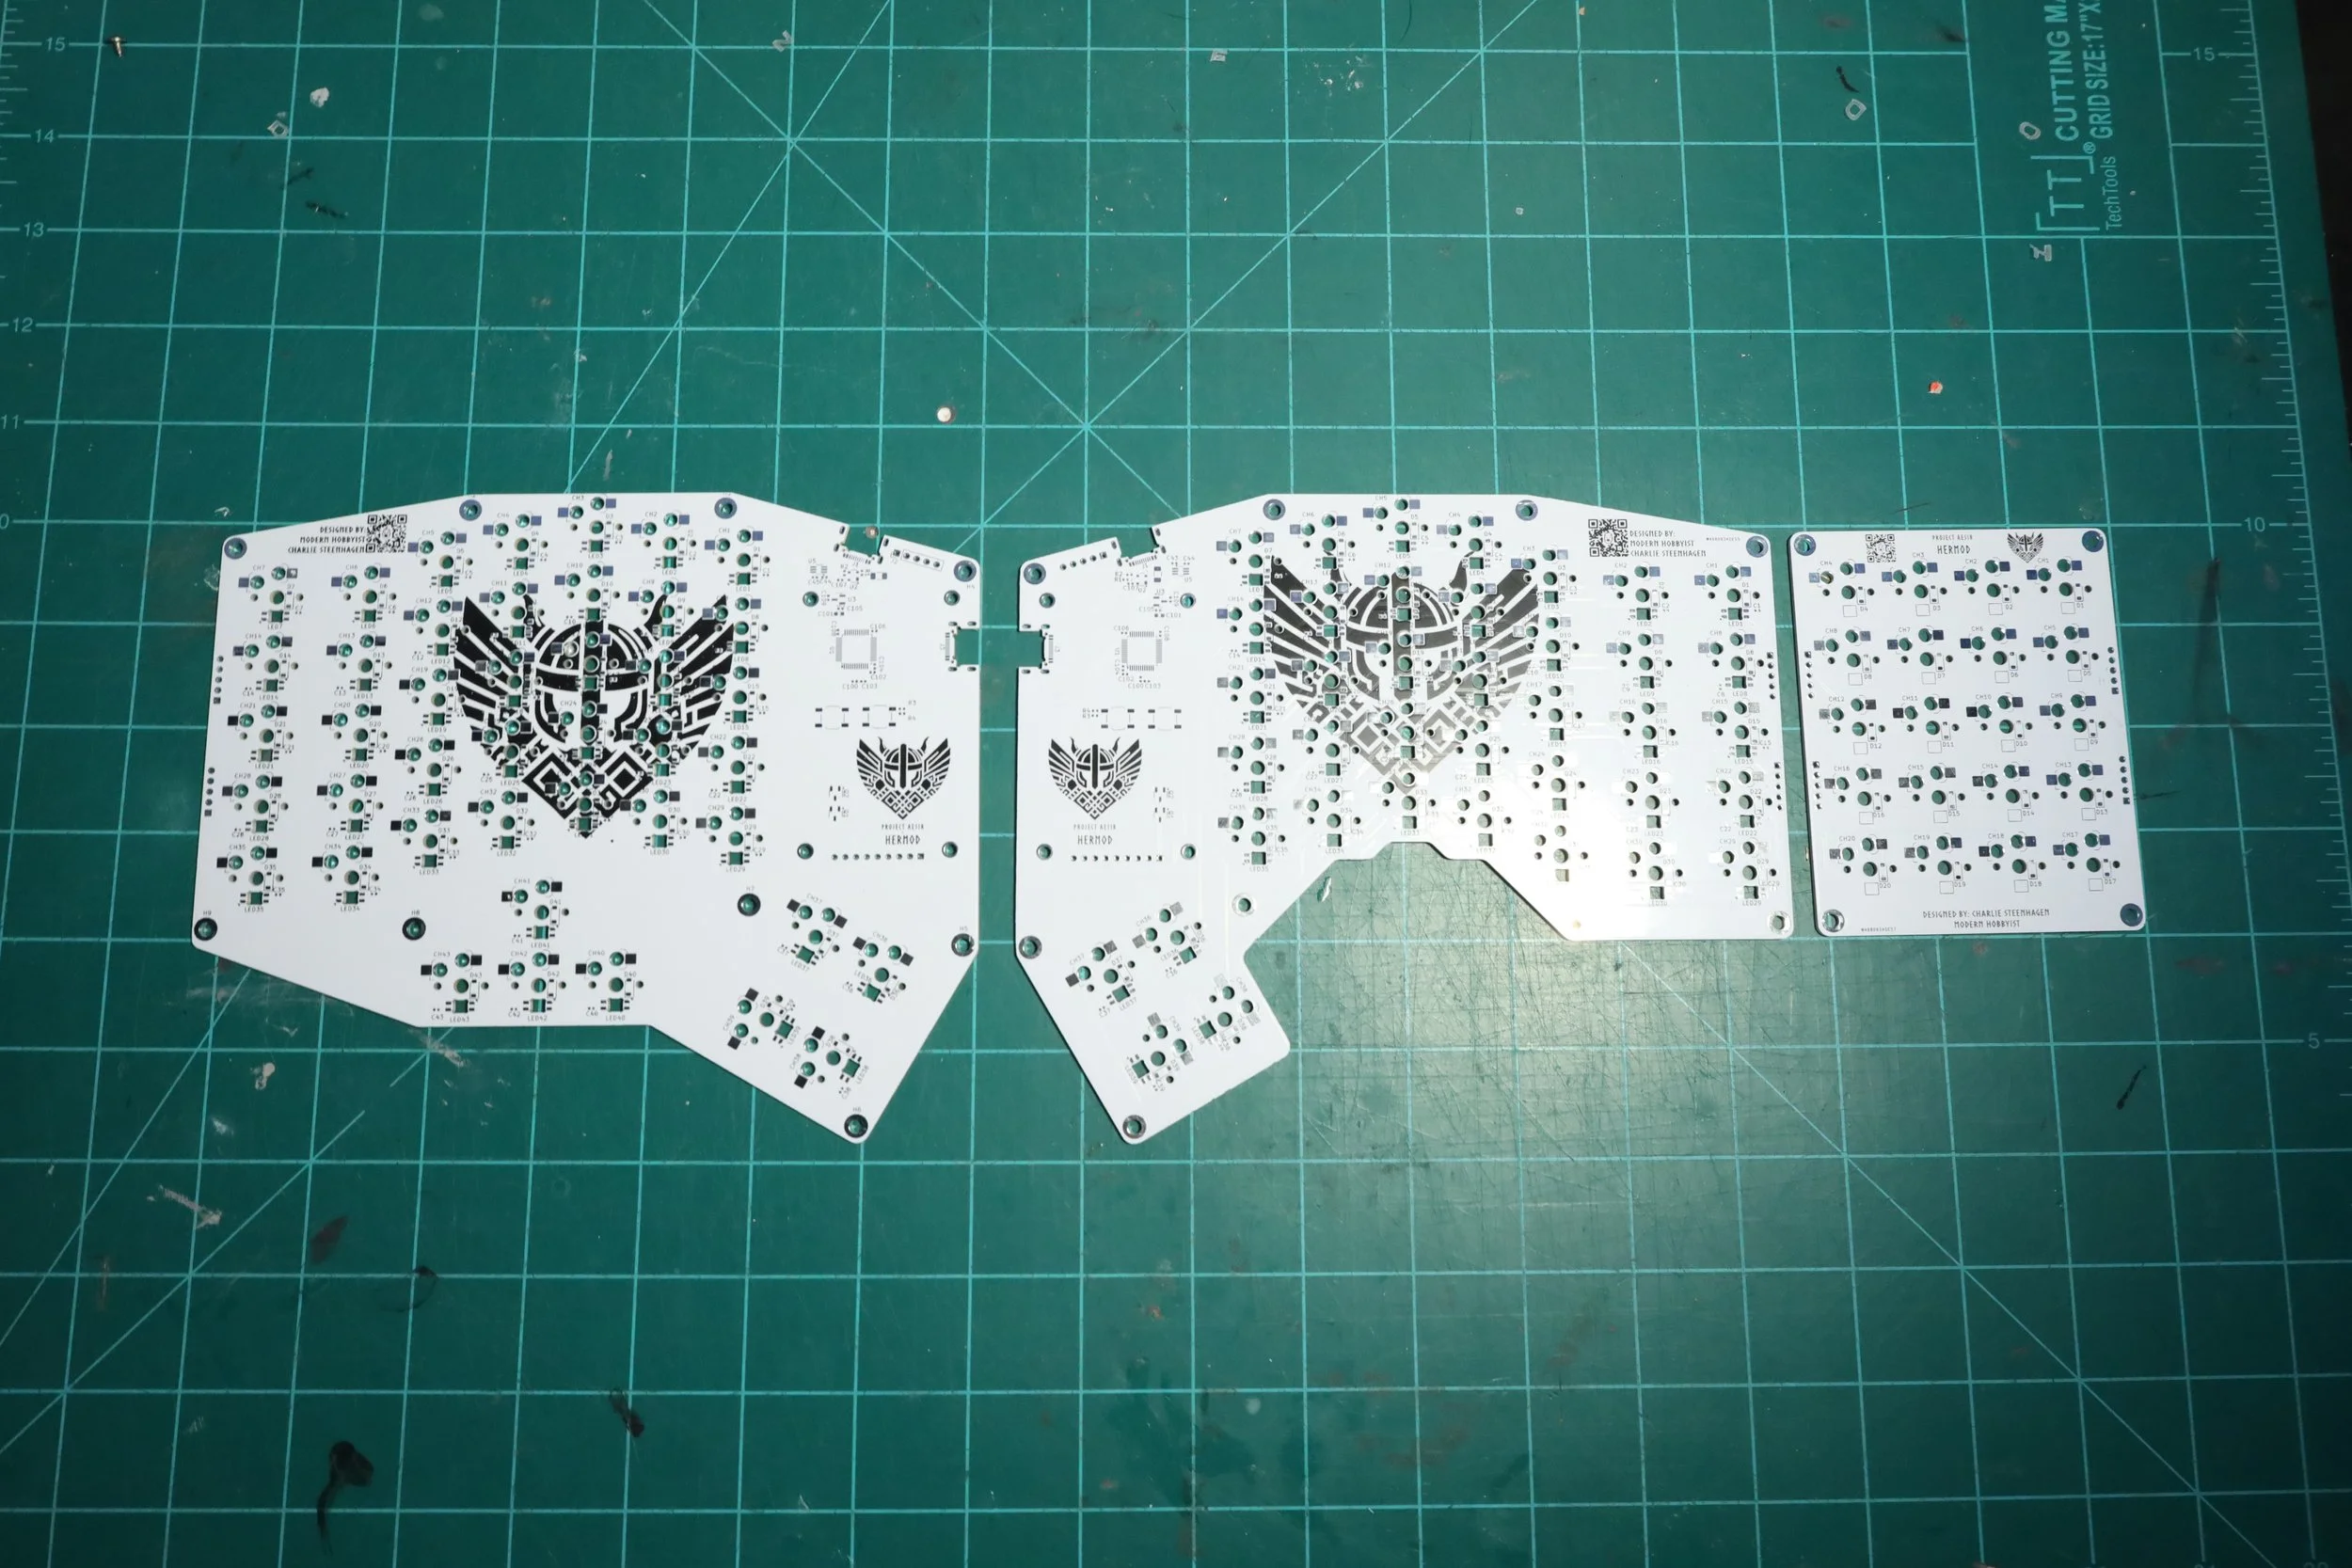
Building my custom split keyboard was one of the most challenging and rewarding projects I’ve taken on. I designed everything from scratch — the PCB, the layout, and the firmware — and along the way, I had to learn a ton about electrical design, QMK configuration, and how to make all the parts talk to each other. There were plenty of late nights spent debugging I²C communication issues, figuring out how to get the 2.2" LCD screens working, and soldering more tiny components than I care to count. It pushed me out of my comfort zone in the best way.
Despite the steep learning curve, this project was incredibly fun. Seeing the keyboard come to life — from a KiCad schematic to a fully functional, beautiful piece of hardware — was deeply satisfying. I gained not just technical skills, but a huge confidence boost in tackling ambitious electronics projects. Typing on something I built myself from the ground up feels amazing, and I’m already thinking about what version two might look like.
PCBWay
This video was sponsored by PCBWay and they provided the PCB’s for this project. PCBWay is a one-stop shop for all your DIY electronics and 3d Printing needs, and they provided the PCB manufacturing services for this project! Make sure to check them out at the link below, so you can upgrade your next project with a professionally manufactured PCB
Watch The Build Video!


