3D Printed Teleprompter
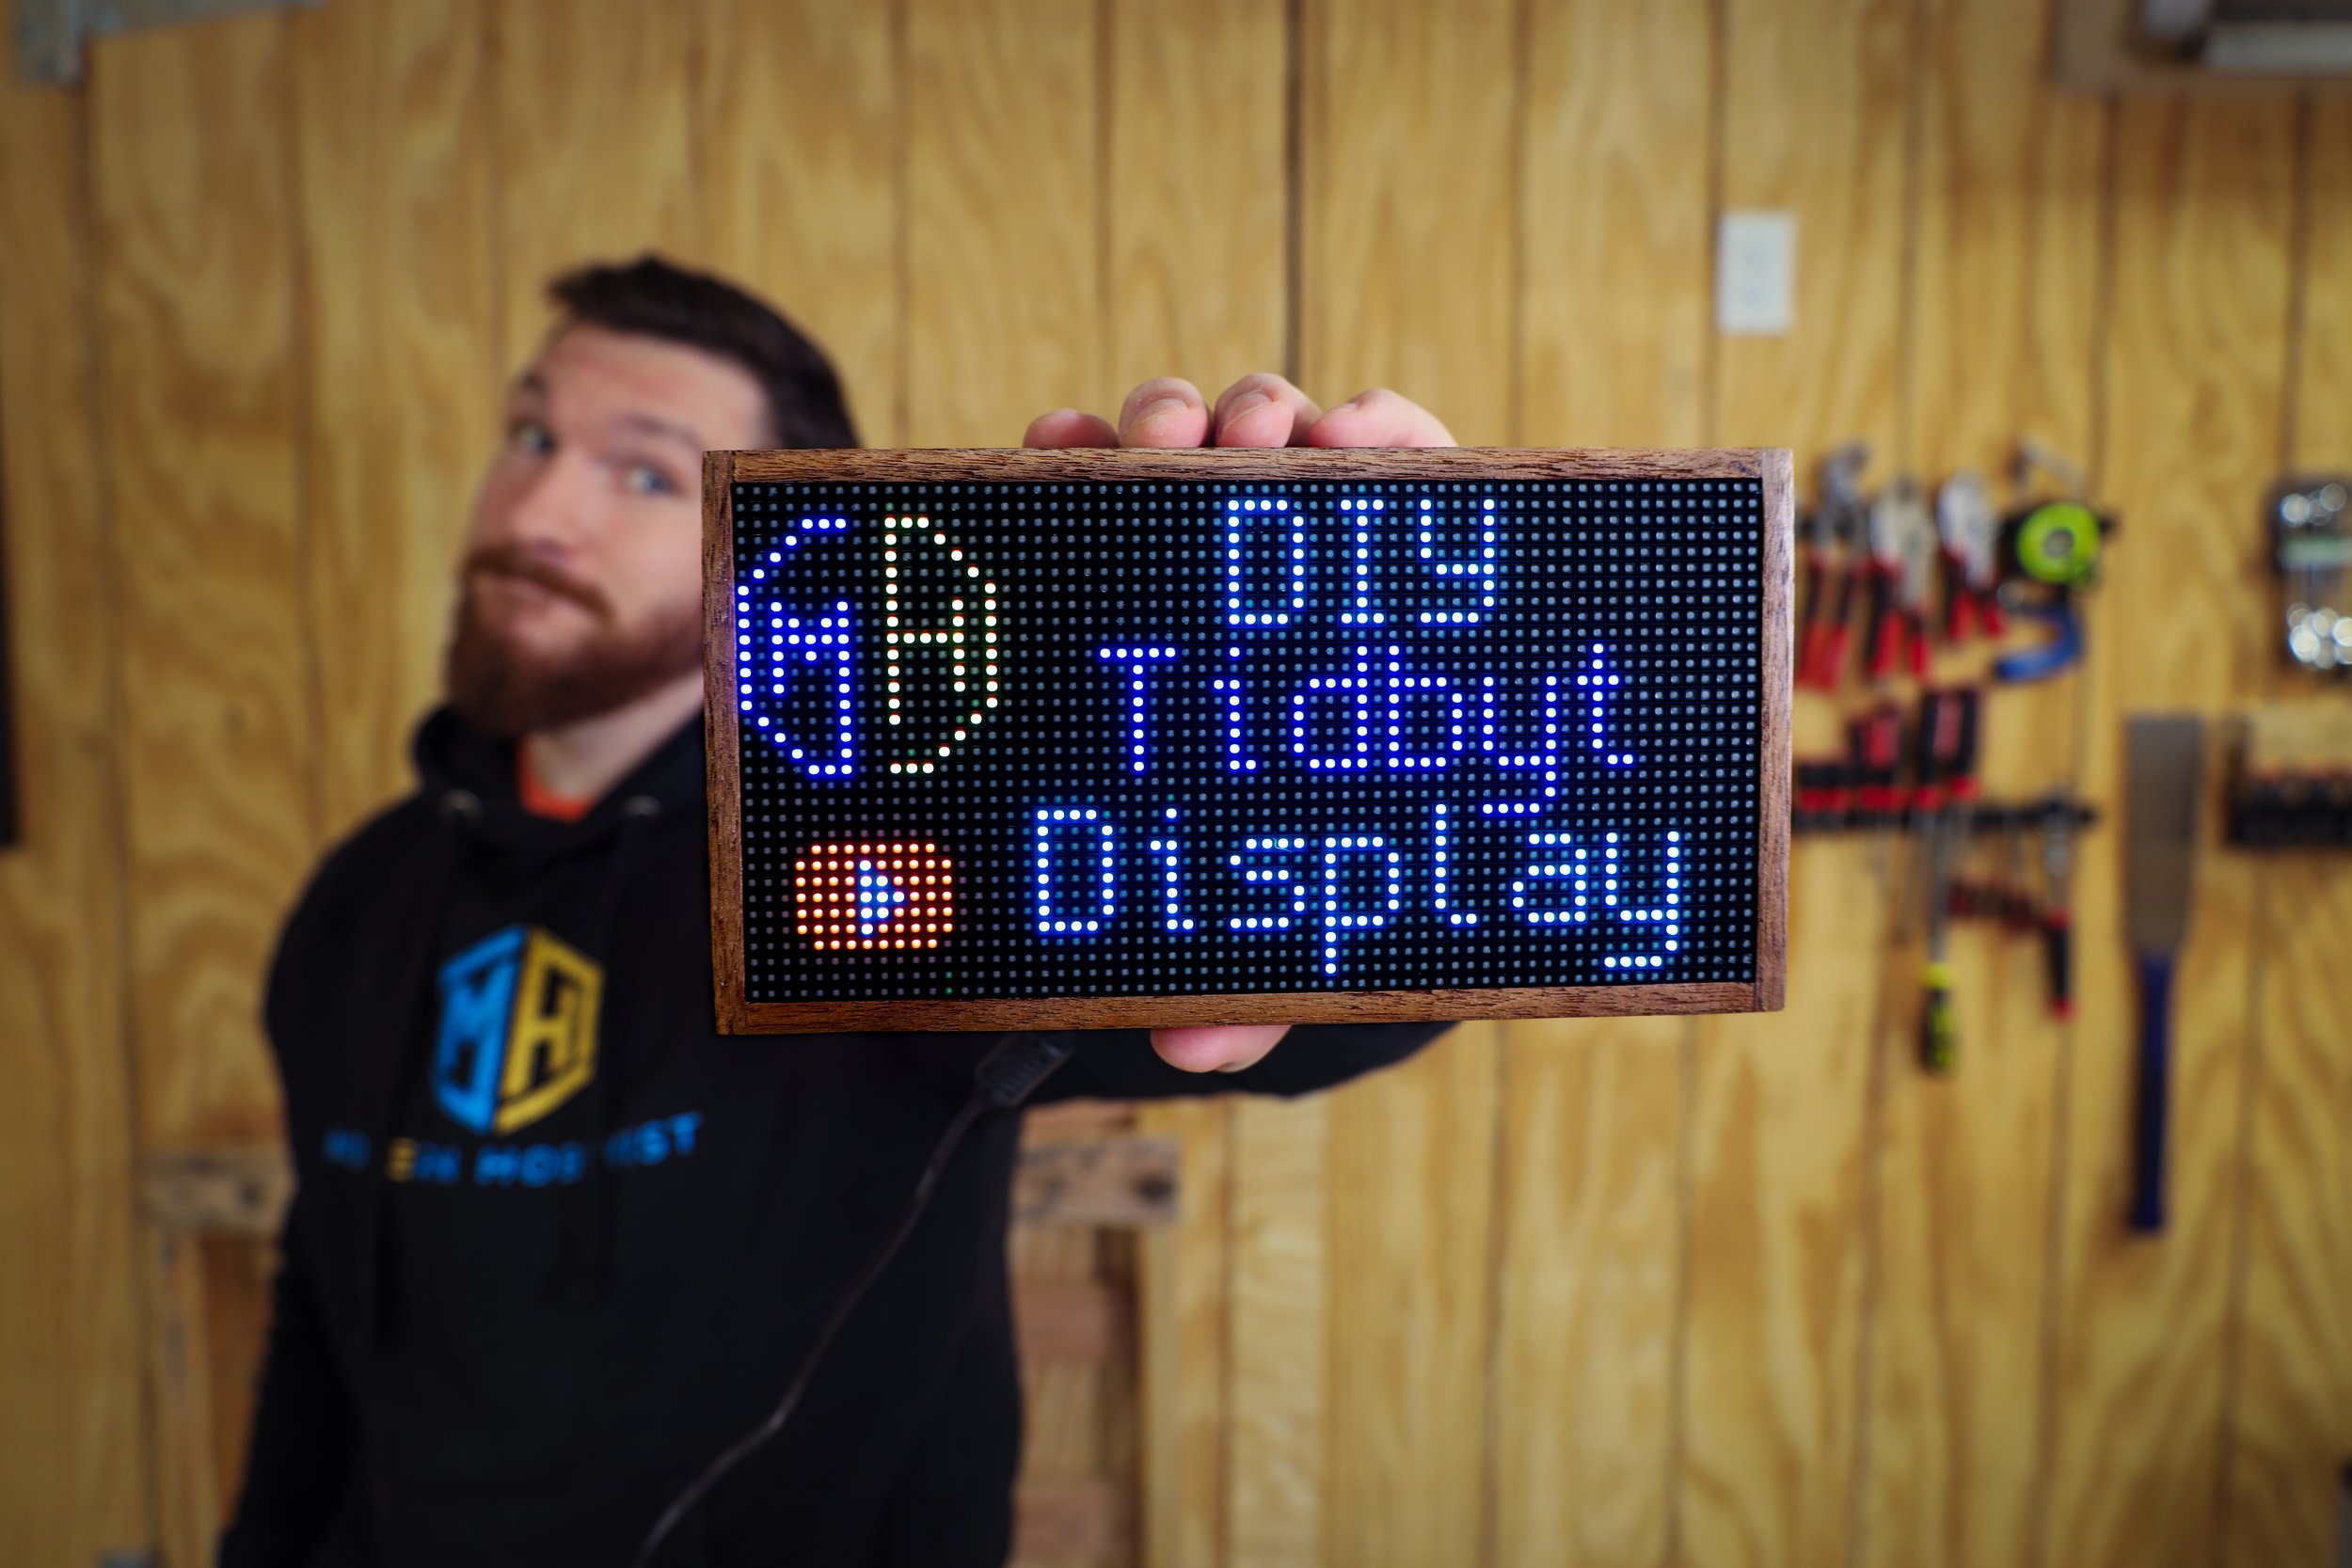
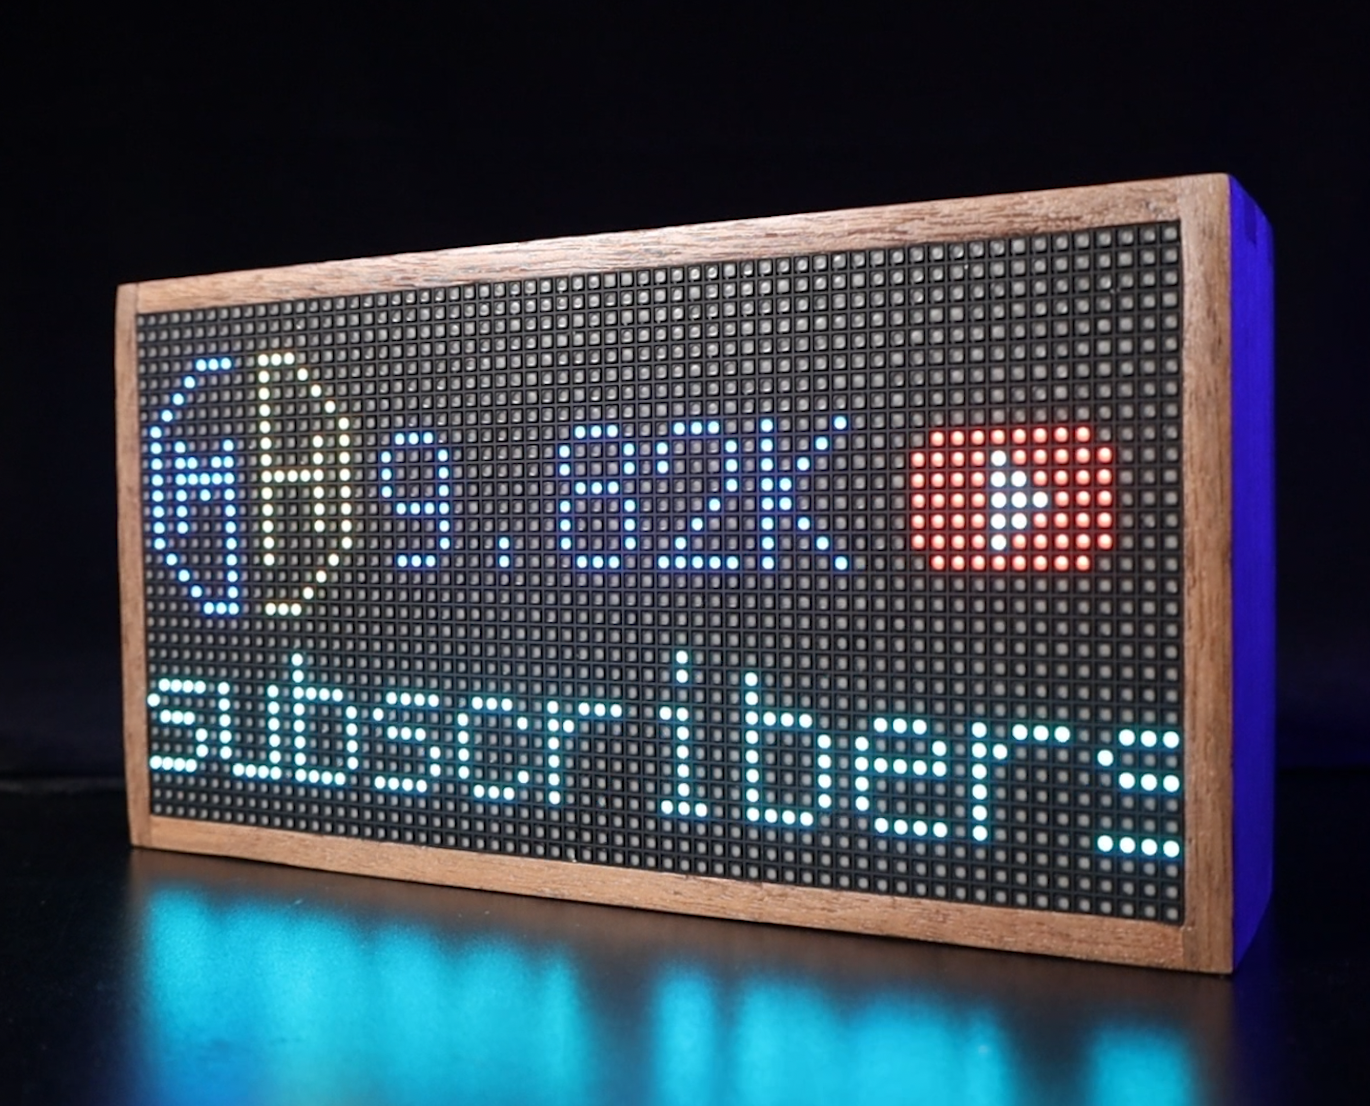
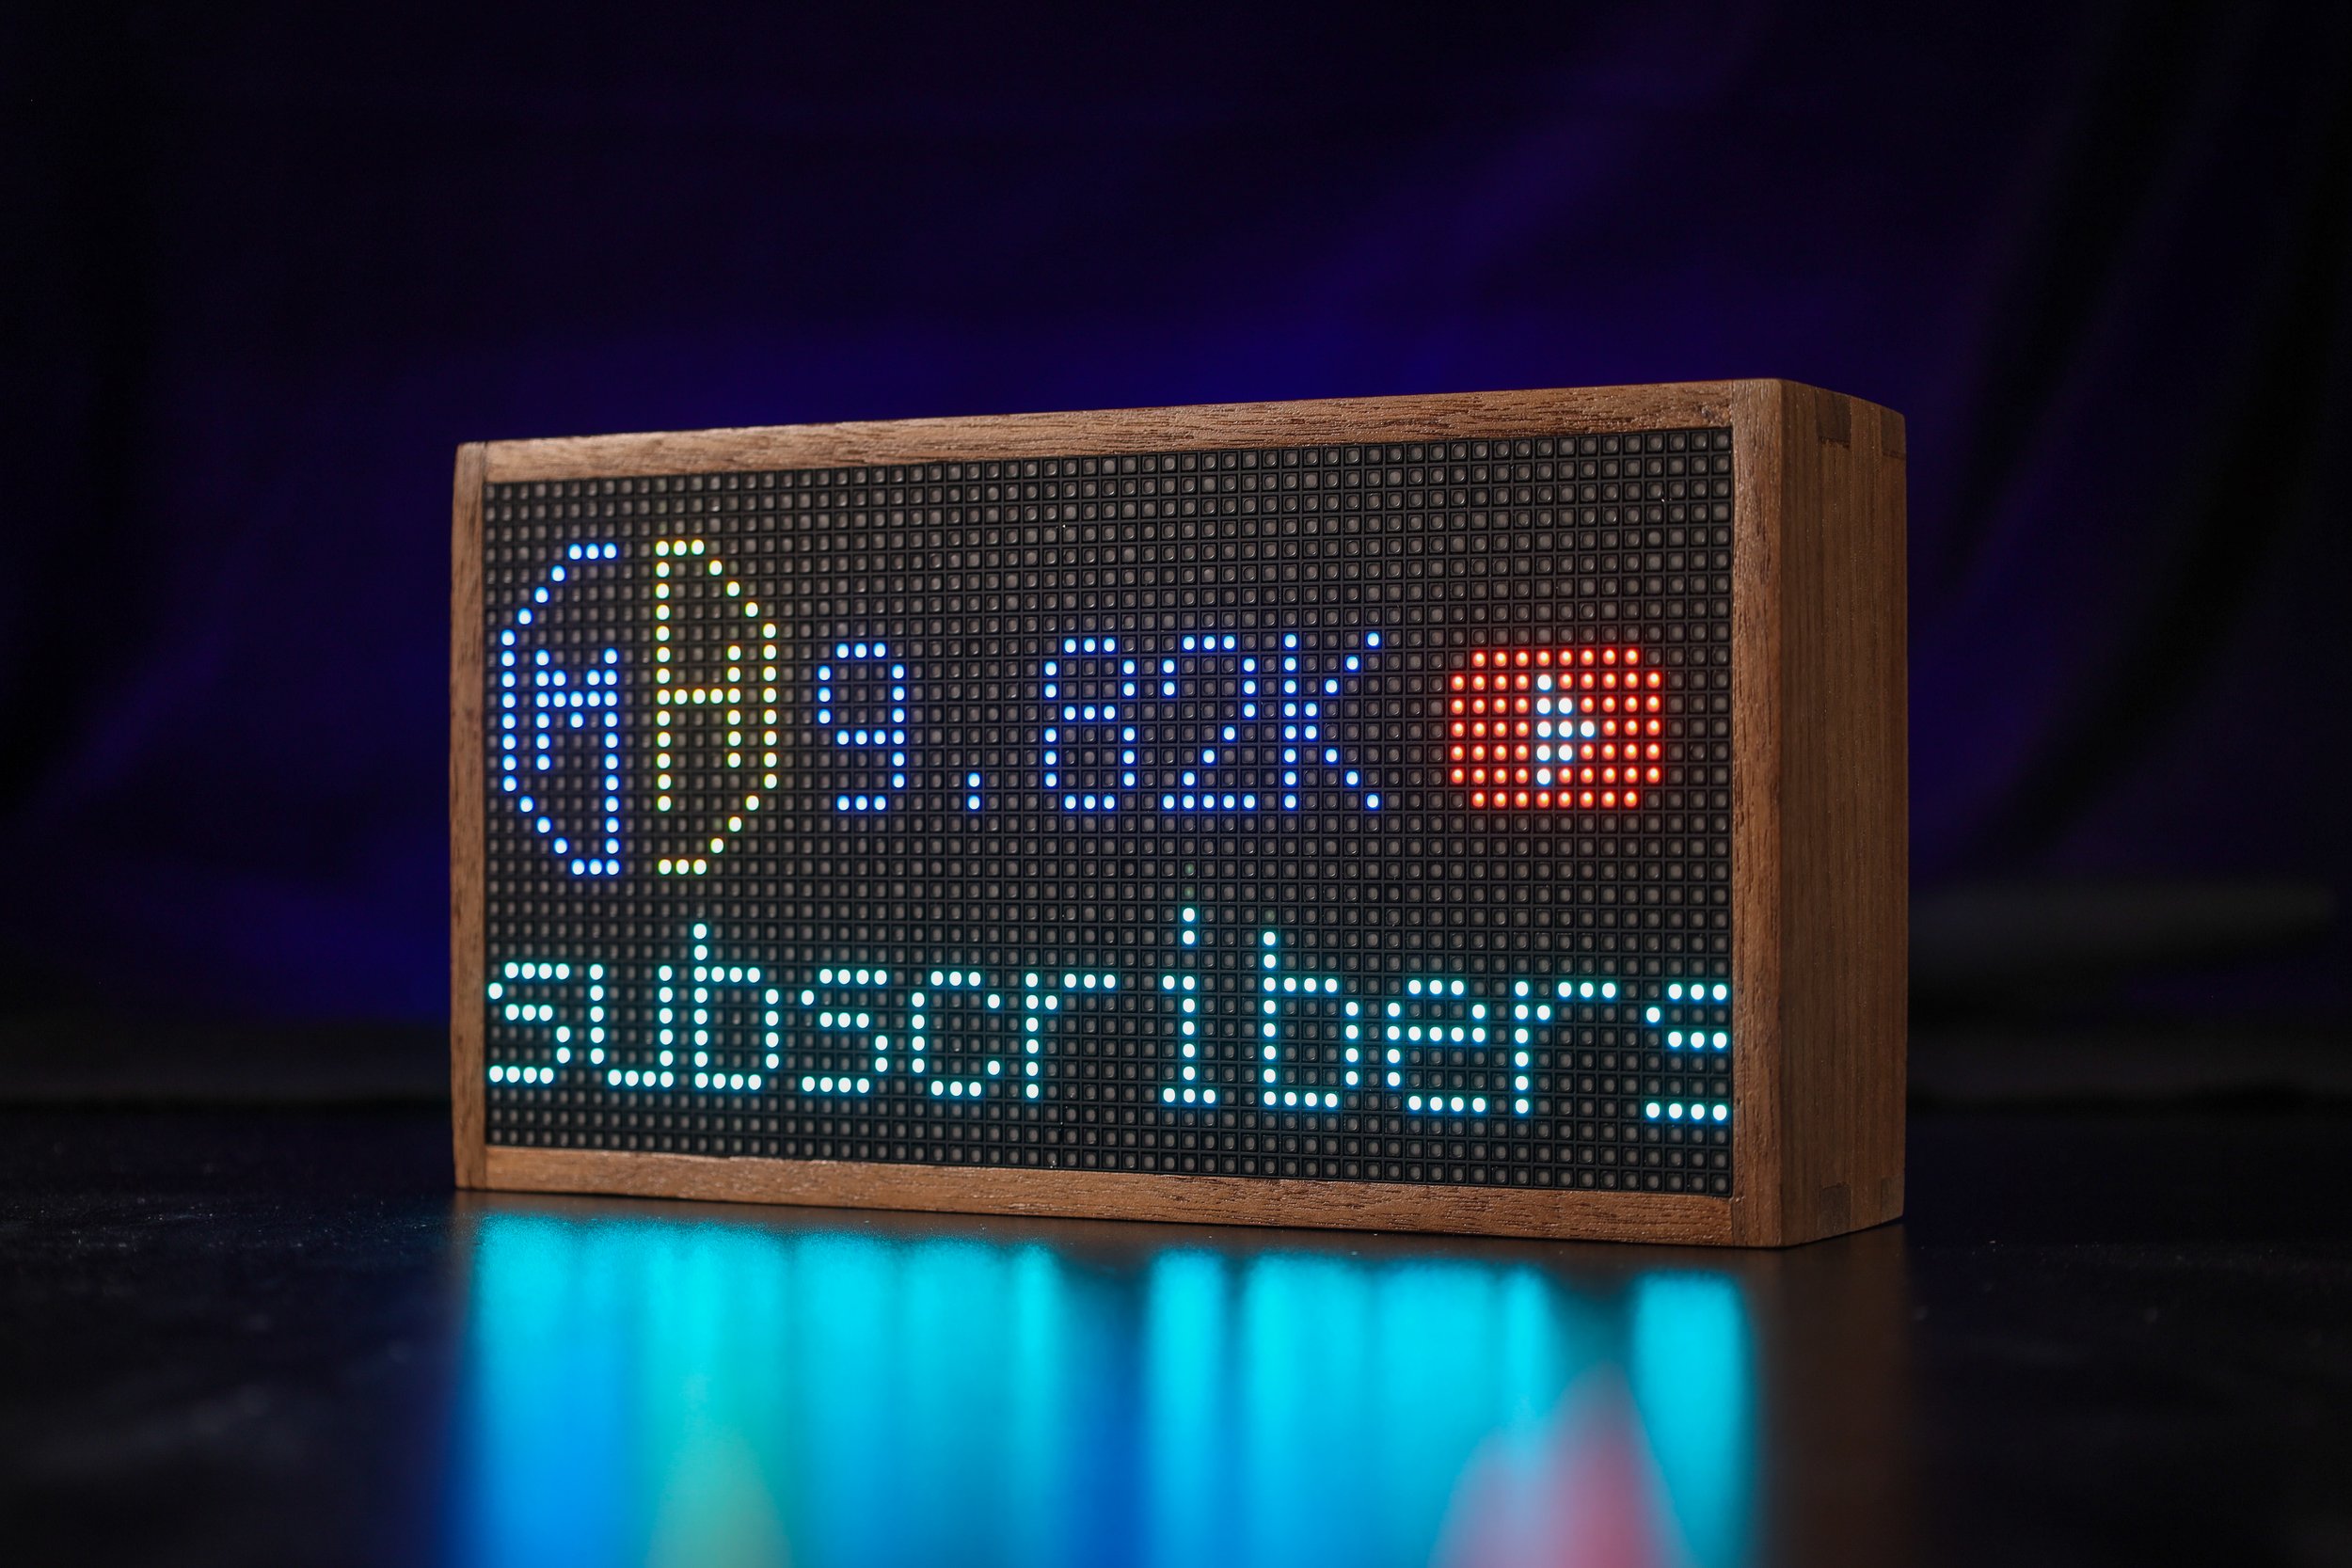
This project is inspired by the extremely popular Tidbyt displays, but as you know, I like doing things the hard way. So of course I didn’t just buy a Tidbyt display, I made one myself! This version skips many of the fancy features of the real Tidbyt to drop the price tag, but overall it should a great project for beginners and experienced makers alike!
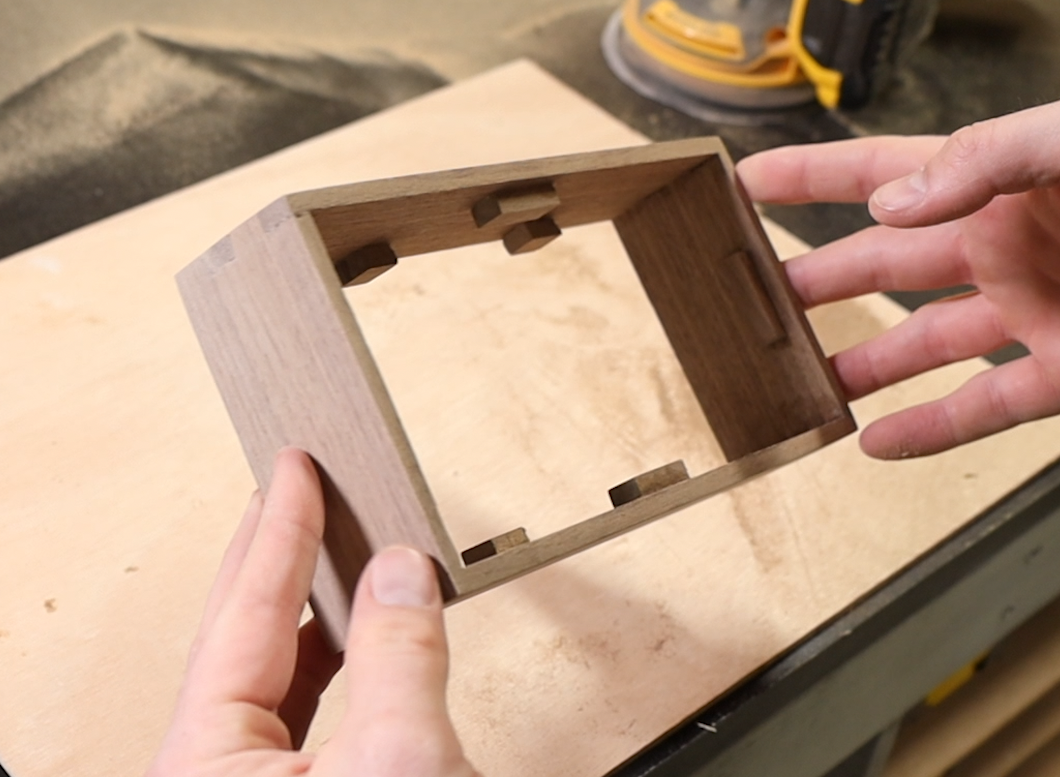
The final version with a walnut enclosure cost around $80 to make, which at less than half the cost of a real Tidbyt isn’t bad, but that price could be dropped even more by 3d printing the enclosure. Obviously, the real Tidbyt’s are awesome, and I’d hate to take anything away from the makers, but sometimes ya just gotta do it yourself!
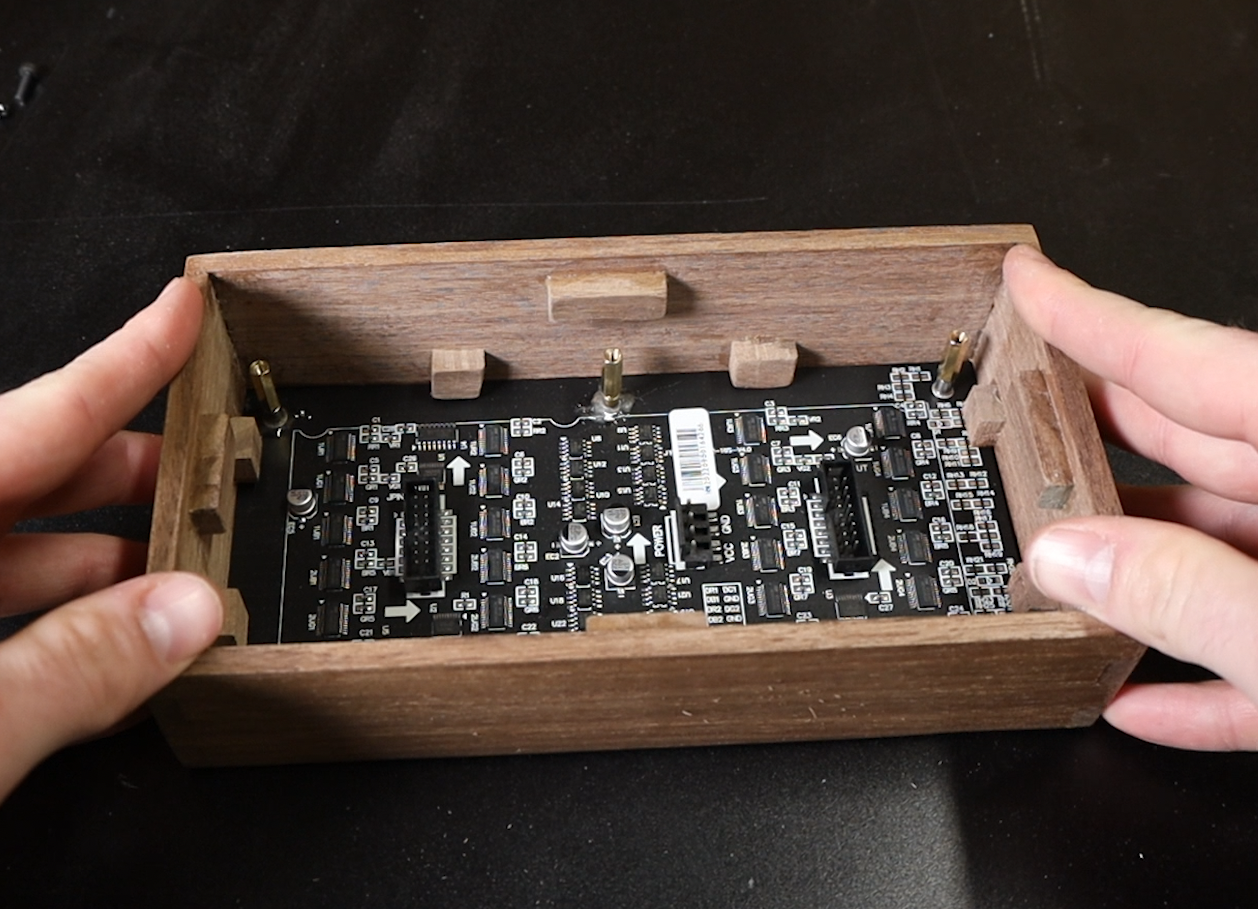
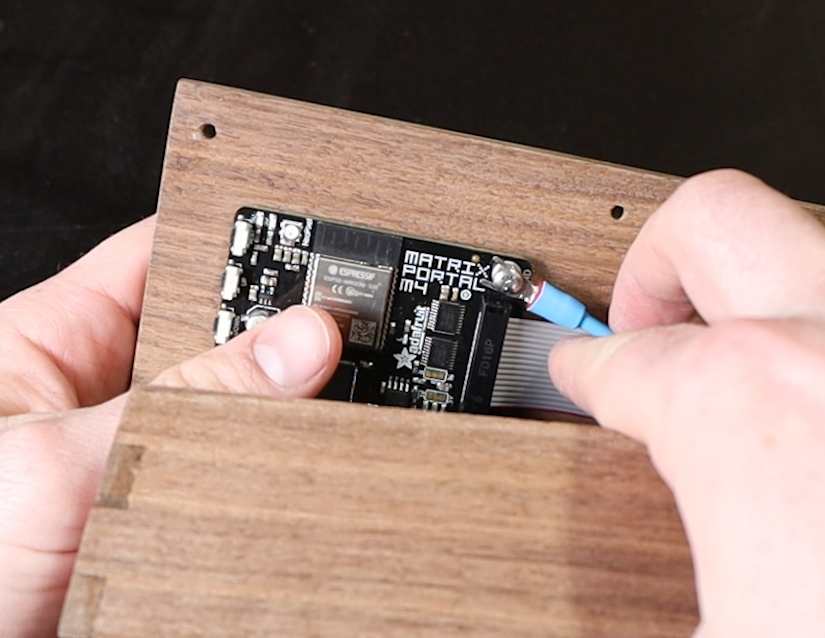
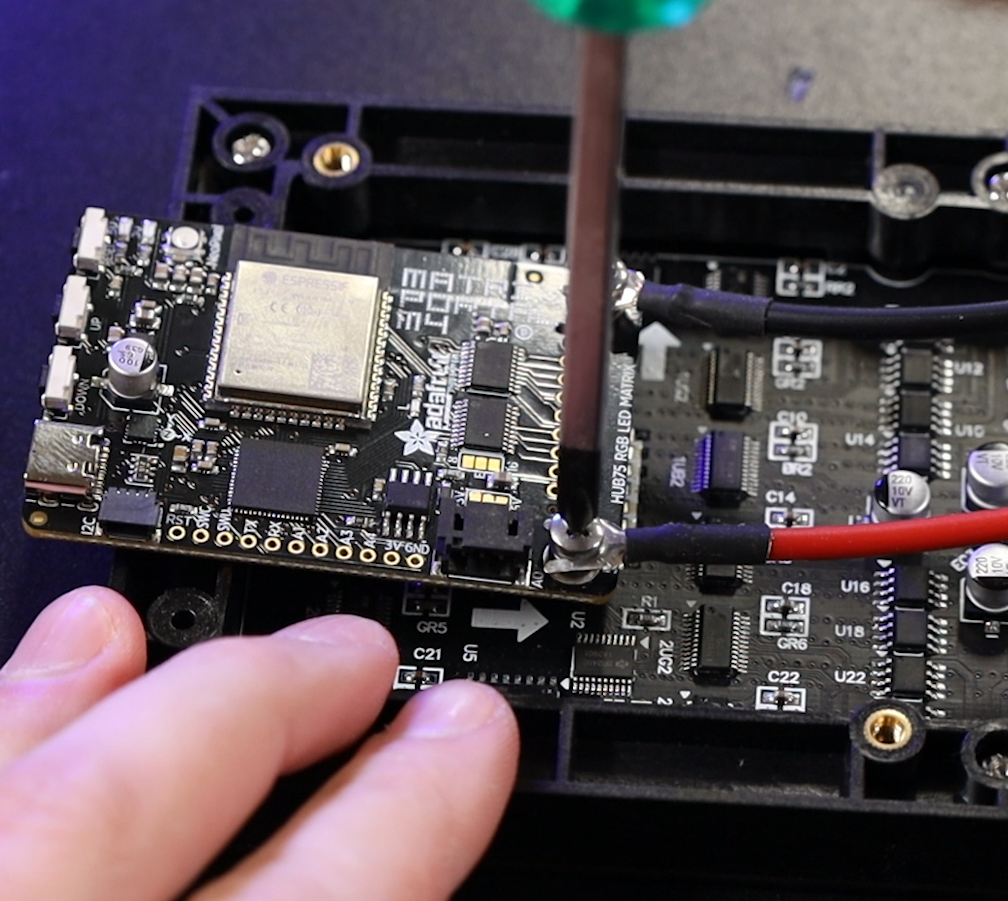
A Waveshare 64x32 RGB Matrix Display and an Adafruit MatrixPortal make up the majority of this project, and the code is written in CircuitPython which is a great starting language if you don’t have much experience programming!
Check out the build video below to learn more and pick up the plans while you’re at it to make one of these bad boys yourself! Oh, and if you do make one, don’t forget to tag me so I can check it out!
PCBWay
This video was sponsored by PCBWay and they provided the PCB’s for this project. PCBWay is a one-stop shop for all your DIY electronics and 3d Printing needs, and they provided the PCB manufacturing services for this project! Make sure to check them out at the link below, so you can upgrade your next project with a professionally manufactured PCB!
Watch The Build Video!
